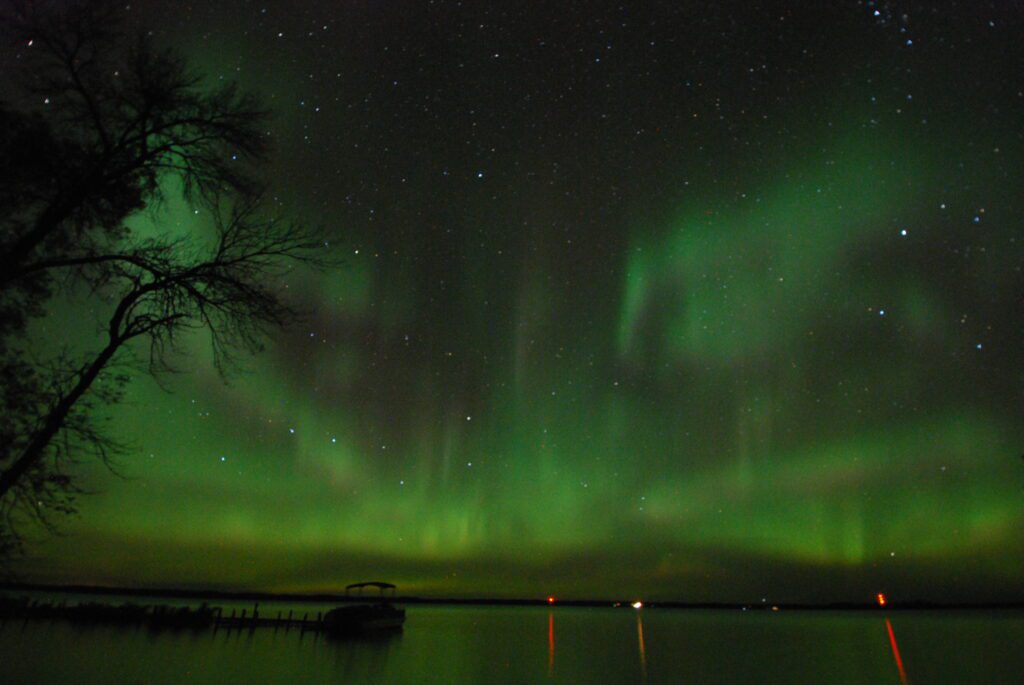
How to Photograph the Northern Lights
Planning a trip to Northern Minnesota, or a fishing trip to Pelican Lake to glimpse the Aurora Borealis? We have some tips on how to photograph the northern lights, using either an SLR or an iPhone.
A Beginner’s Guide on How to Photograph the Northern Lights
Before I start, you should know that capturing the Northern Lights on camera requires patience and persistence. The Northern Lights can be unpredictable and can appear and disappear quickly.
However, with some prep and the right techniques, you can increase your chances of capturing a photo of the stunning Aurora Borealis.
Can anyone photograph the Northern Lights?
Yes, absolutely! As I mentioned, if you’re patient, have a little camera knowledge, prepare accordingly, and find the right place to view the Northern Lights, anyone can capture this mesmerizing natural phenomenon.
SLR Camera Settings
First, let’s discuss the camera equipment you’ll need.
If you’re using an SLR camera, you’ll want a sturdy tripod to keep the camera steady during long exposures. You’ll also need a wide-angle lens, ideally with a maximum aperture of f/2.8 or wider.
If you’re using an iPhone, you won’t need a tripod, but you’ll still want to find a stable surface to place your phone on. You may need an app to control the exposure settings manually or most iPhone models now allow you to adjust the settings without an app.
Things to bring with you:
- SLR camera
- Sturdy tripod
- Warm clothes if temperature drops are expected
The Northern Lights are best photographed at night, so you’ll want to find a location with little to no light pollution.
Pelican Lake in Northern Minnesota is a great spot to see the Aurora Borealis because it’s far away from any major cities and has clear skies.
Once you’ve found a spot, set up your camera on your tripod. Set your lens to manual focus and focus on infinity. This will ensure that your shots are sharp. Set your aperture to its widest setting, like f/2.8, to allow as much light as possible into your camera. You’ll also want to set your ISO to a high value, like 1600 or 3200, to capture more light.
Finally, set your shutter speed to between 15 and 30 seconds, depending on the brightness of the Northern Lights. If the lights are bright, use a shorter shutter speed; if they’re faint, use a longer one.
8 Steps for Photographing the Northern Lights with an SLR Camera
- Find a place with little to no light pollution. We may be a little biased but Pelican Lake in Northern Minnesota is an excellent location for scouting out the Northern Lights.
- Set up your camera on a tripod to keep it steady for the long exposure shots. You’ll also need a wide-angle lens, as we mentioned earlier, with a maximum aperture of f/2.8 or wider.
- Set your lens to manual focus and focus on infinity to ensure your shots are sharp.
- Set your aperture to its widest setting (f/2.8, for example) to allow as much light as possible into your camera.
- Set your ISO to a high value (1600 or 3200) to capture more light.
- Set your shutter speed to between 15 and 30 seconds.
- Take multiple shots with different settings and exposure times to increase your chances of capturing a good one. The Northern Lights can change quickly, so take lots of shots.
- Experiment with different compositions, including a foreground object like trees or a lake. See some of our examples below
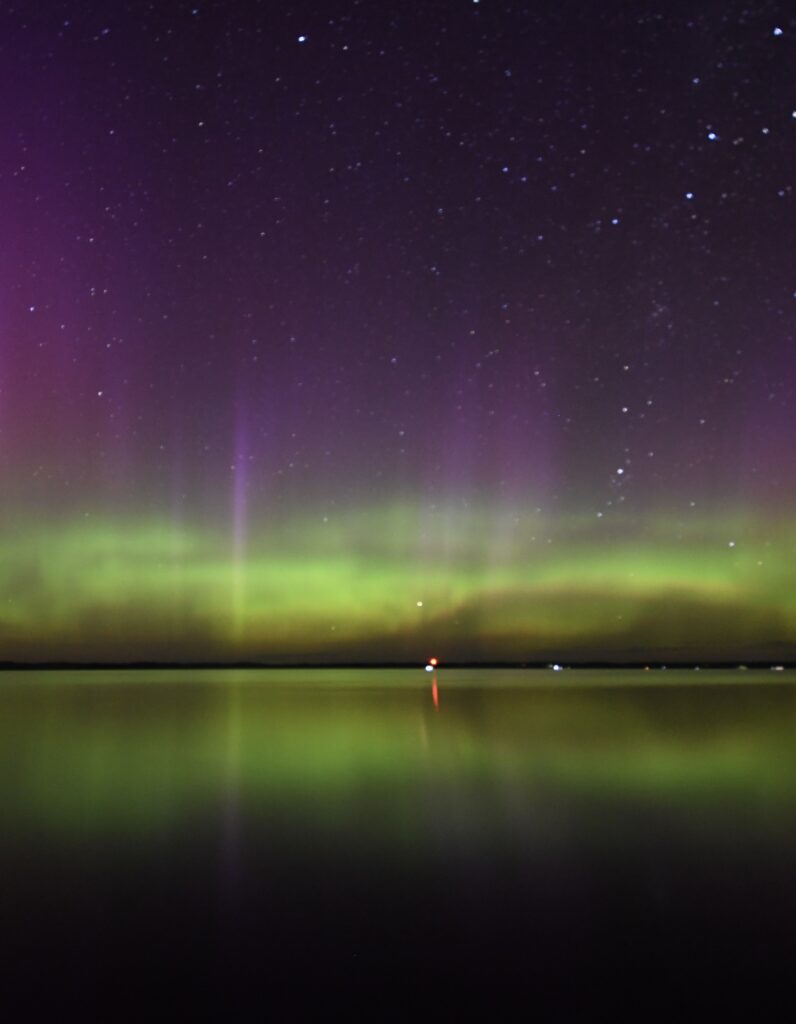
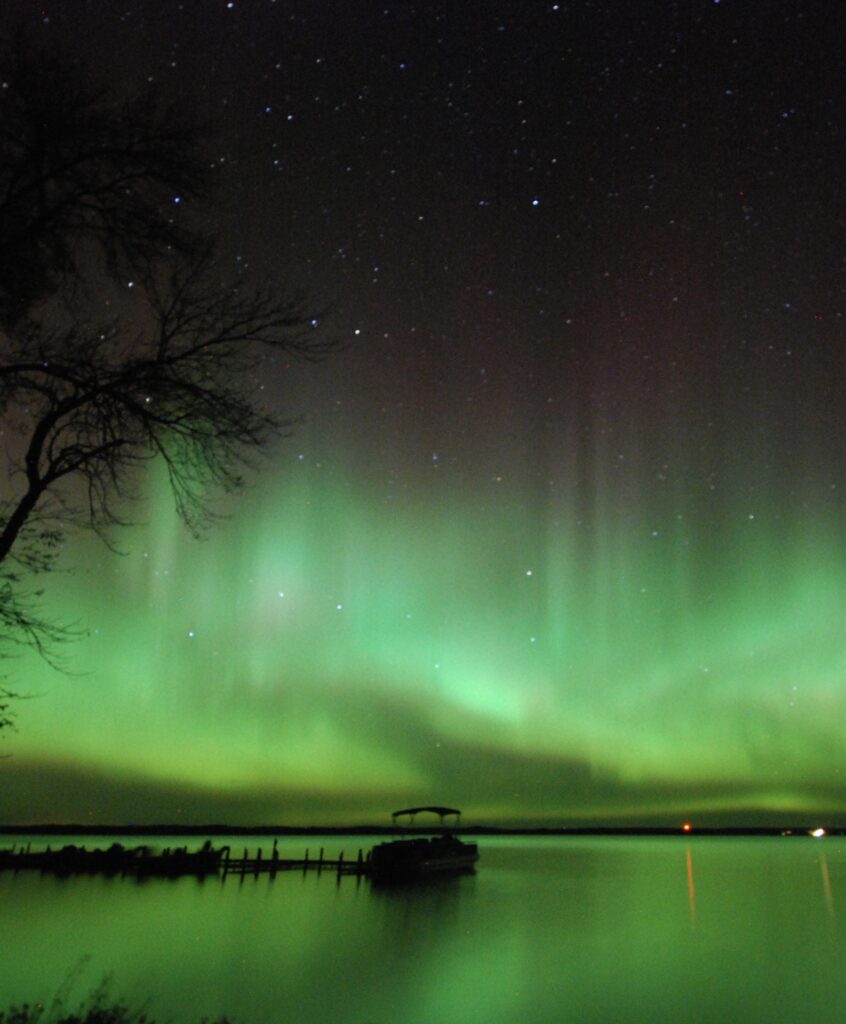
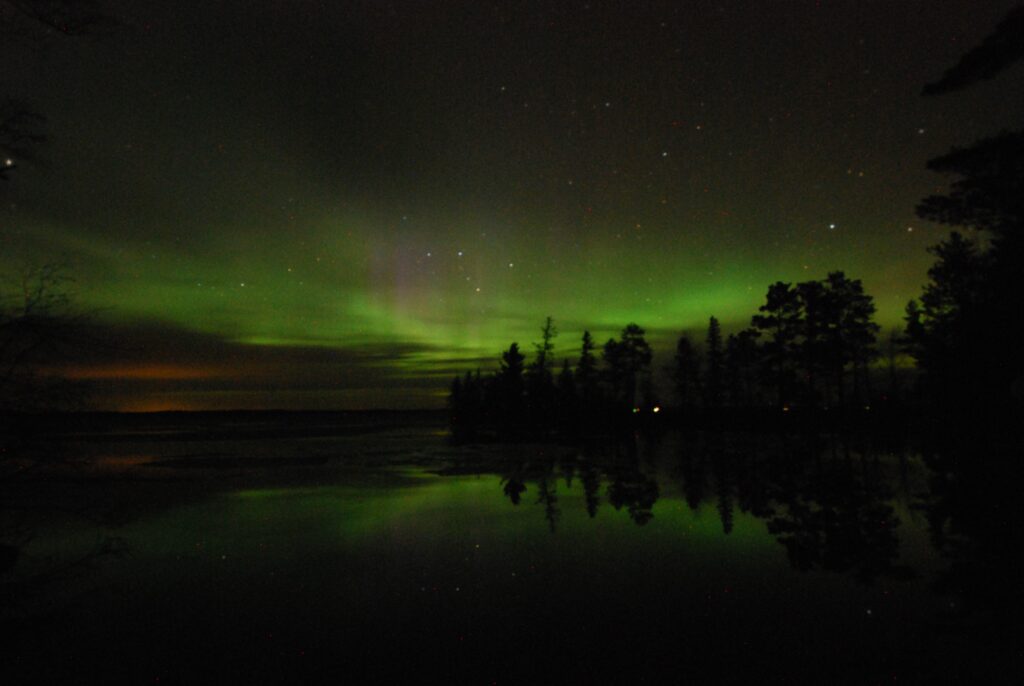

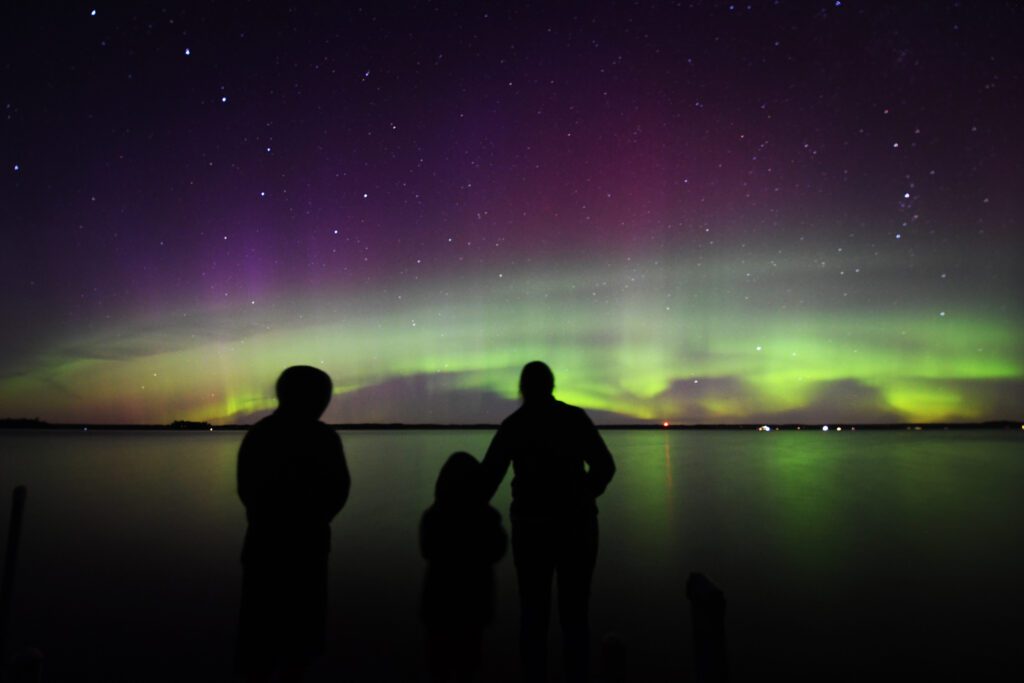
6 Steps for Photographing the Northern Lights with an iPhone
If you’re using an iPhone, open your camera app and swipe up to access the exposure controls.
Set your ISO to a high value to capture more light. You’ll also want to set your exposure time to between 15 and 30 seconds. You can do this by tapping on the timer icon and selecting the appropriate time.
This one’s obvious but remember to hold your iPhone steady while you take the picture.
Here are the steps:
- Again, find a location with little to no light pollution.
- Open your camera app and swipe up to access the exposure controls.
- Set your ISO to a high value (800 or 1600).
- Set your exposure time to between 15 and 30 seconds.
- Find a stable surface to place your iPhone on and hold it steady while the exposure is being taken.
- Take multiple shots with different settings and exposure times.
Remember, regardless of whether it’s an SLR or iPhone, taking multiple shots is important to increase your chances of capturing a good picture.
Final Things to Keep in Mind When Photographing the Northern Lights
I have some final thoughts on making sure you’re equipped to get your best shot at your Aurora Borealis photoshoot:
- Watch for the weather. You don’t want to go on a cloudy night or a full moon where the lights might be harder to see.
- Use a tripod. A sturdy tripod is essential to keep your camera steady during long exposures.
- Use manual focus. Your camera’s automatic focus settings will probably focus on the wrong things.
- Experiment with different camera settings. Adjust your aperture, ISO, and shutter speed to capture vibrant colors.
- Again, take multiple shots!
- Dress appropriately. Make sure to dress warmly because temperatures can drop rapidly at night, especially in Northern Minnesota.
Northern Lights Photography Classes with Adam
Photographing the Northern Lights can be a challenging but rewarding experience. With some preparation and the right equipment, you can capture the beauty of the Aurora Borealis.
At Birch Forest Lodge, Adam, the owner, is crazy about all things Northern Lights. You can find Adam often out at the docks with guests, offering weekly photography workshops from the latter half of August through September. Don’t miss out; this is an excellent year for the Northern Lights.
His workshops are perfect for both beginners and experienced photographers.
Book your stay today at Birch Forest Lodge, or visit our blog for more tips about the Northern Lights.
